DIY Back Hand Mehndi Design: Mehndi, also known as henna, is not just a form of body art it’s a tradition deeply rooted in culture and celebration. Among the various mehndi styles, back hand mehndi designs hold a special place for their visibility, elegance, and versatility. Whether it’s for a wedding, festival, or a casual day out, mastering DIY back hand mehndi design can save you salon trips and unleash your inner artist.
Discover the Art of DIY Back Hand Mehndi Designs
In this guide, you’ll learn how to create stylish, simple, and intricate mehndi designs on the back of your hand at home. We’ll cover design ideas, pro tips, step-by-step guidance, and how to make your mehndi look deeper and last longer.
Why Choose Back Hand Mehndi Designs?
Visibility and Aesthetic Appeal
The back of your hand is always on display whether you’re posing for photos, greeting guests, or holding something. A beautifully drawn mehndi on this area instantly elevates your overall look.
Flexibility in Design
From minimal finger patterns to elaborate full-hand art, back hand mehndi designs let you experiment with different styles without overwhelming your palm.
Tools You Need for DIY Mehndi Art
Basic Supplies to Get Started
- Henna cone (ready-made or homemade)
- Tissue paper or cotton swabs
- Toothpick or needle (for fine detailing)
- Lemon and sugar mix (for color enhancement)
- Transparent plastic sheet (for practice)
Optional Enhancements
- Glitter cones
- Colored stones or beads
- Stencils for beginners
Step-by-Step Guide to Creating DIY Back Hand Mehndi Design
Step 1: Clean and Prep Your Hand
Wash your hands thoroughly and dry them. Avoid applying any lotion or cream as it may prevent henna from adhering properly.
Step 2: Practice the Design on Paper
Before applying directly, sketch or trace the design on paper or a plastic sheet. This helps improve accuracy and confidence.
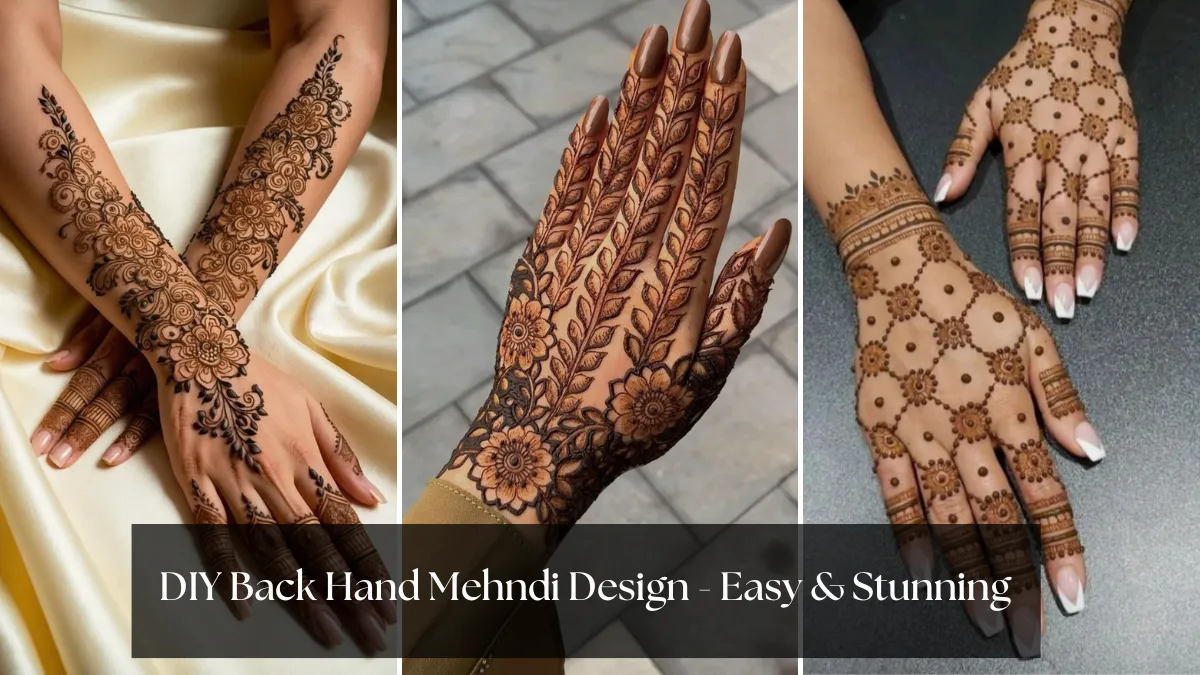
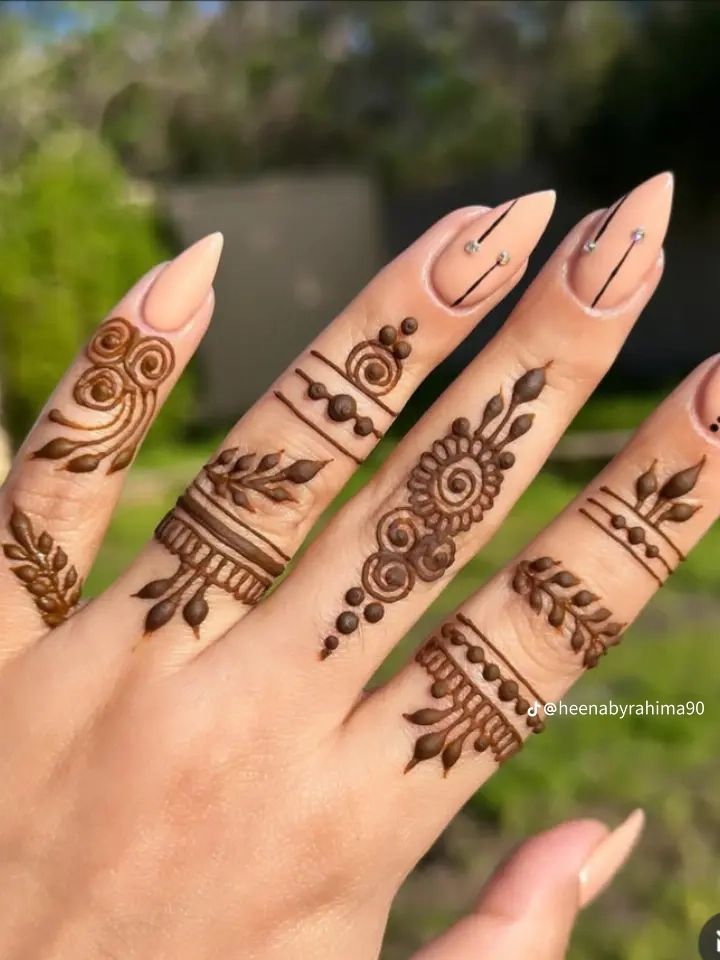
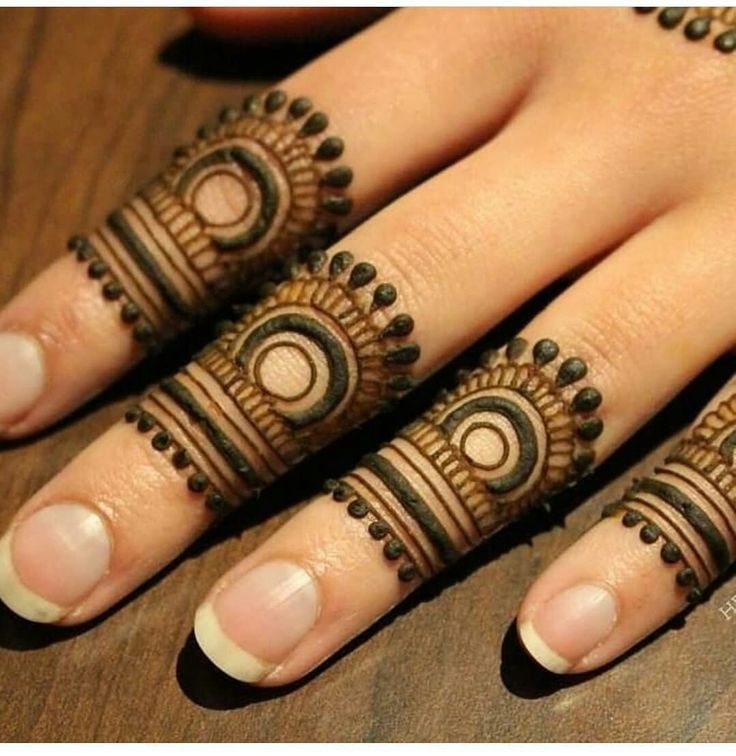
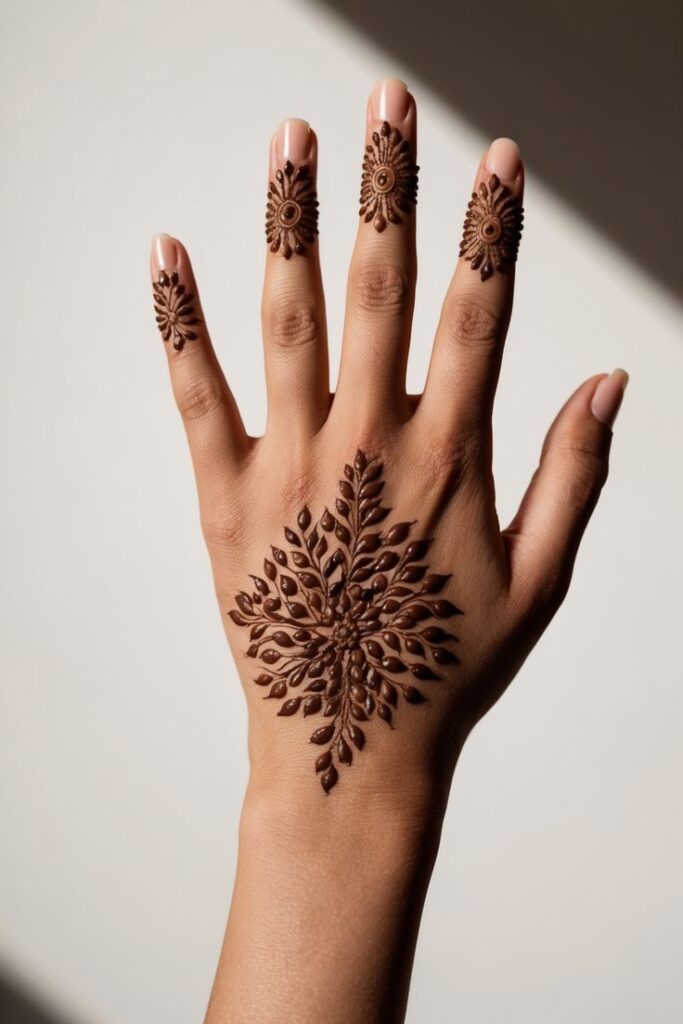
Step 3: Start With the Fingers
Begin with small, symmetrical patterns like dots, lines, and curls on your fingers. These can be basic floral tips or ring-style bands.
Easy Finger Design Ideas
- Leafy vine up the middle finger
- Chain of dots circling each finger joint
- Swirl patterns forming rings

Step 4: Work Your Way to the Center
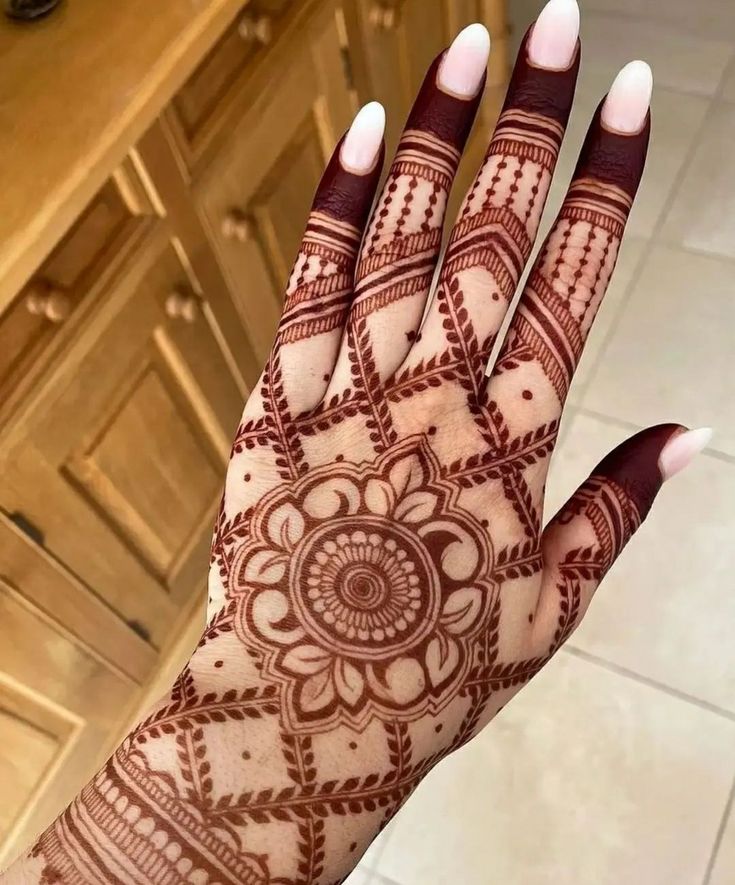
Gradually move toward the back of the palm. Use motifs like mandalas, paisleys, or mesh (jaali) patterns to fill the center space.
Central Motif Ideas
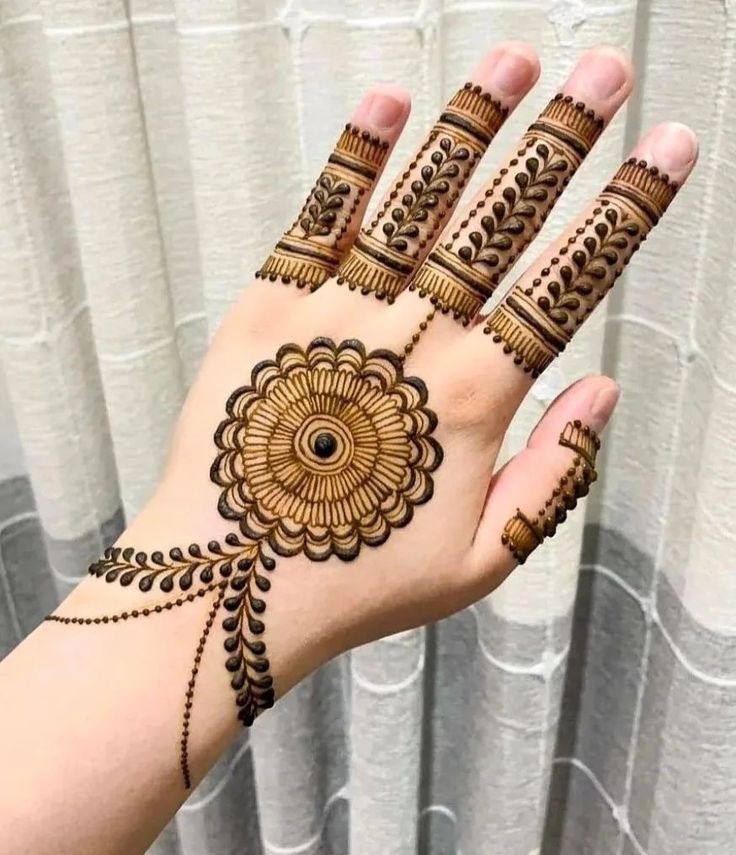
- Mandala Mehndi – Round design starting from the center of the hand
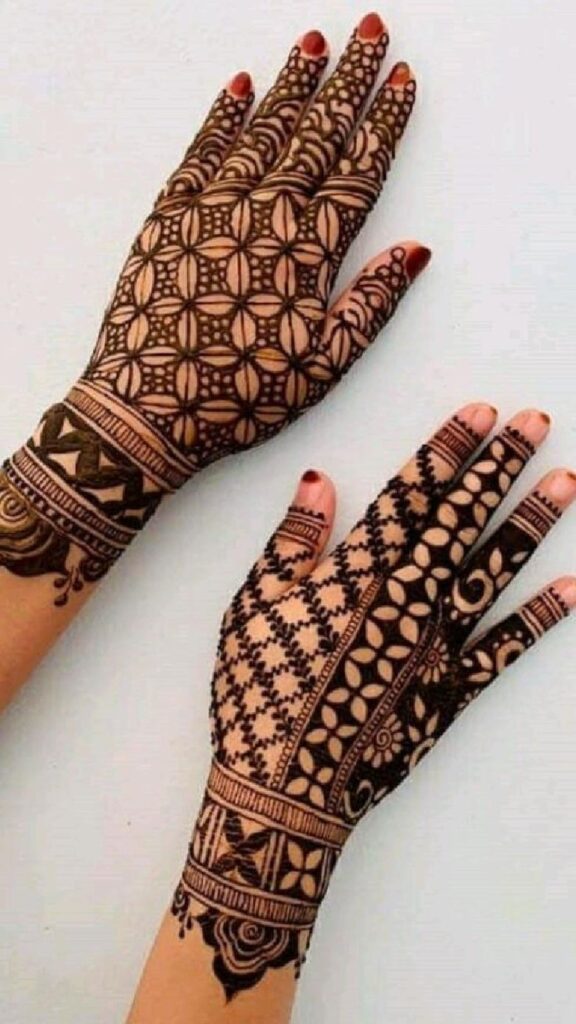
- Net Pattern – Crisscross lines with filled dots
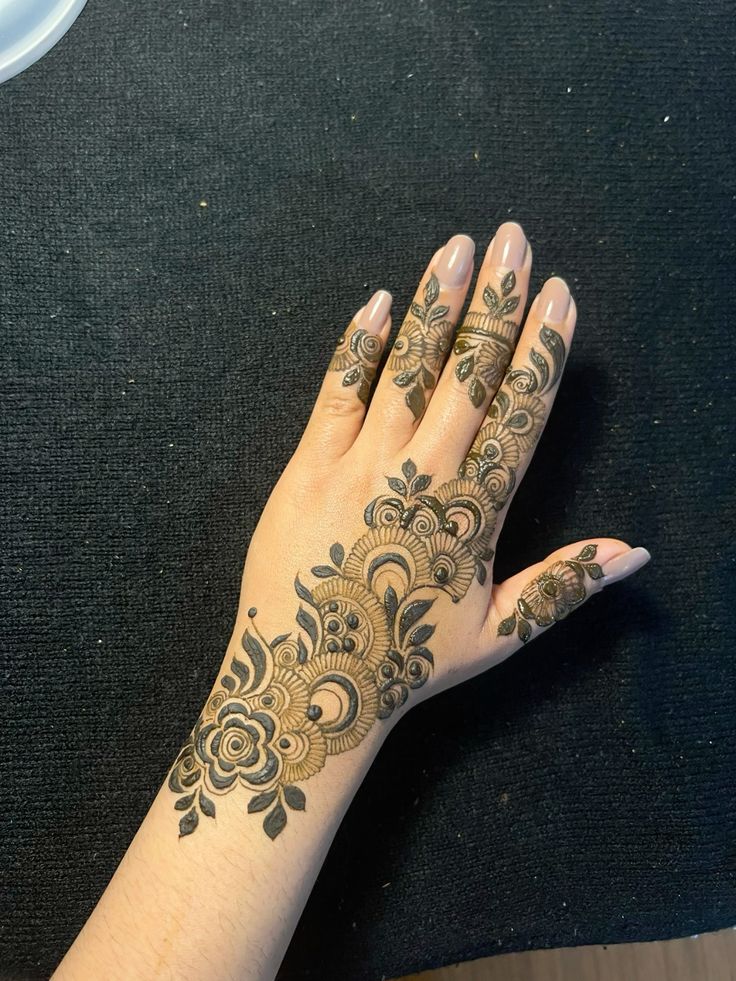
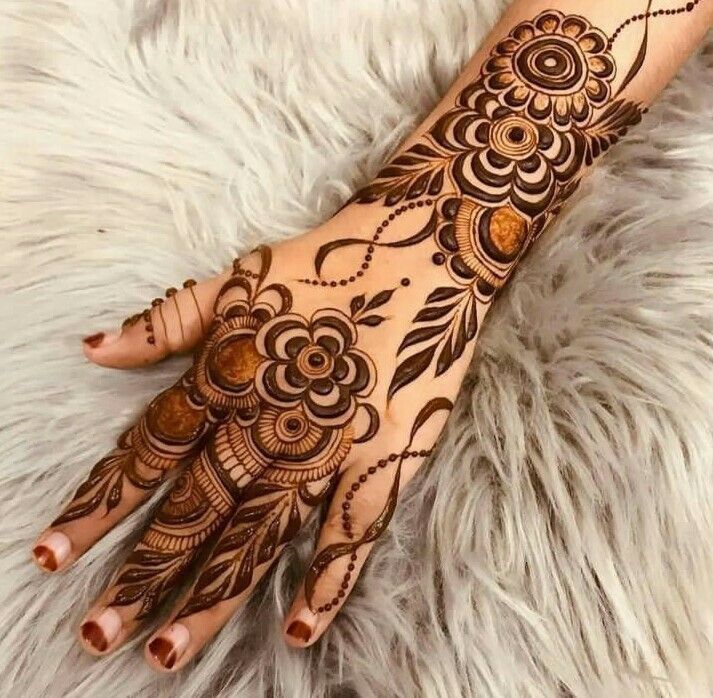
- Rose Flower Design – Floral art extending to the wrist
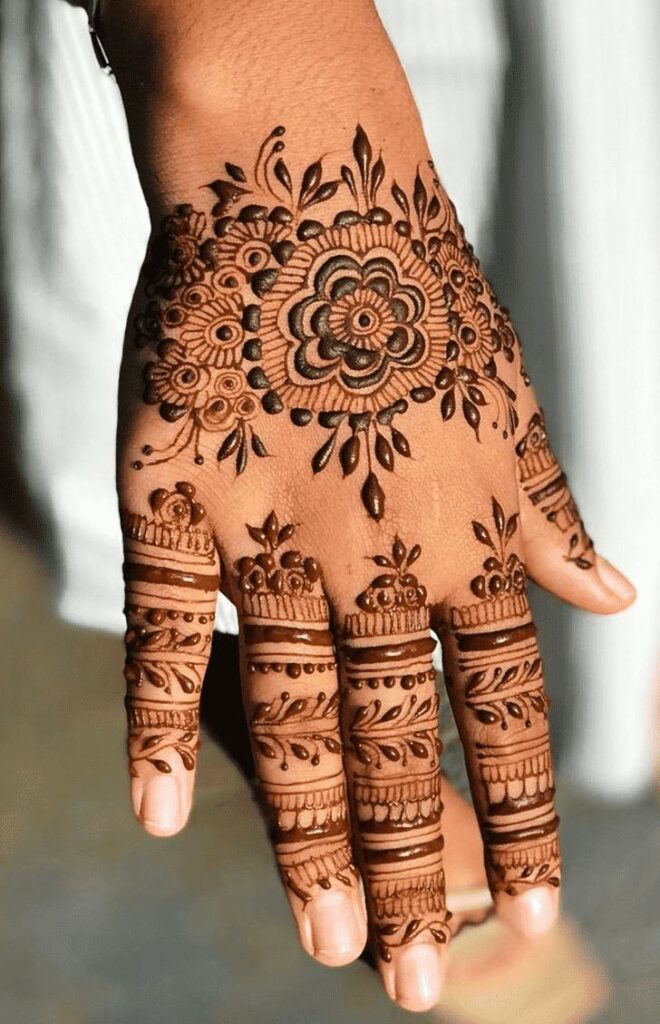

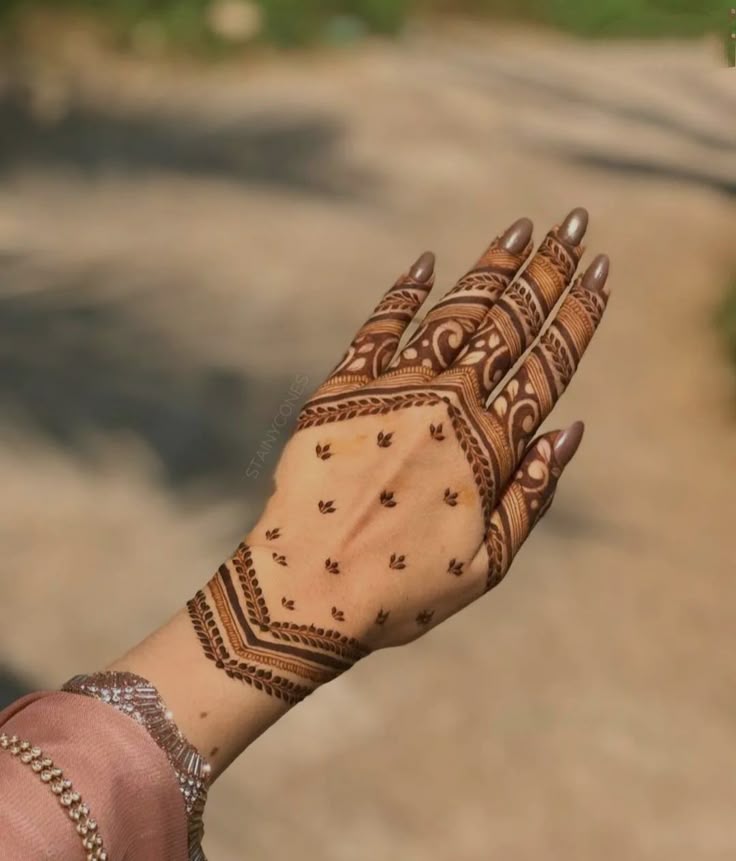
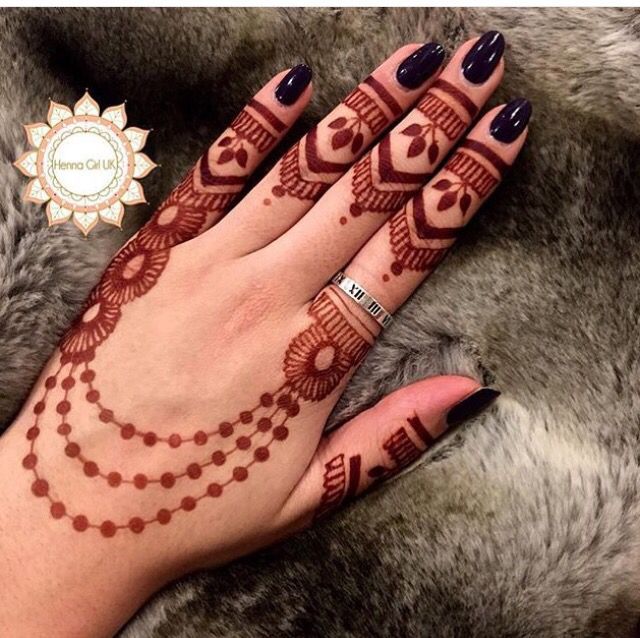
Step 5: Add Wrist Embellishments
Finish the design by wrapping around the wrist with either a bracelet-style band or extending a trail of leaves and curves toward the forearm.
Trending DIY Back Hand Mehndi Styles in 2025
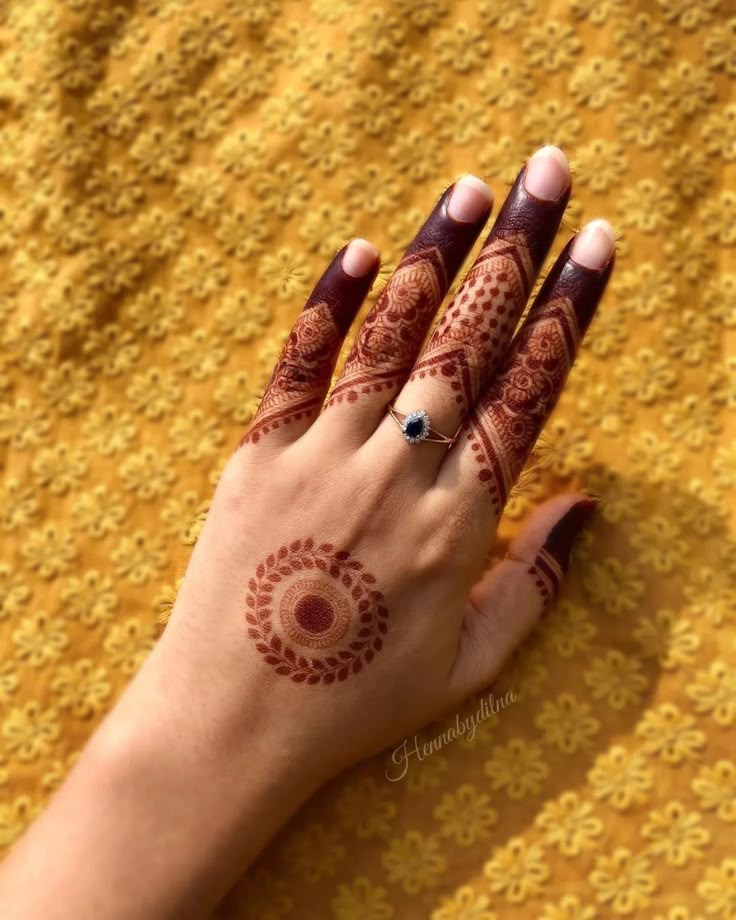
1. Minimalist Mehndi
Perfect for beginners and casual events. Involves simple vines, dots, or a single floral pattern on the hand.
2. Arabic Back Hand Design
Features bold floral strokes, shading, and gaps between elements for a modern, flowing look.
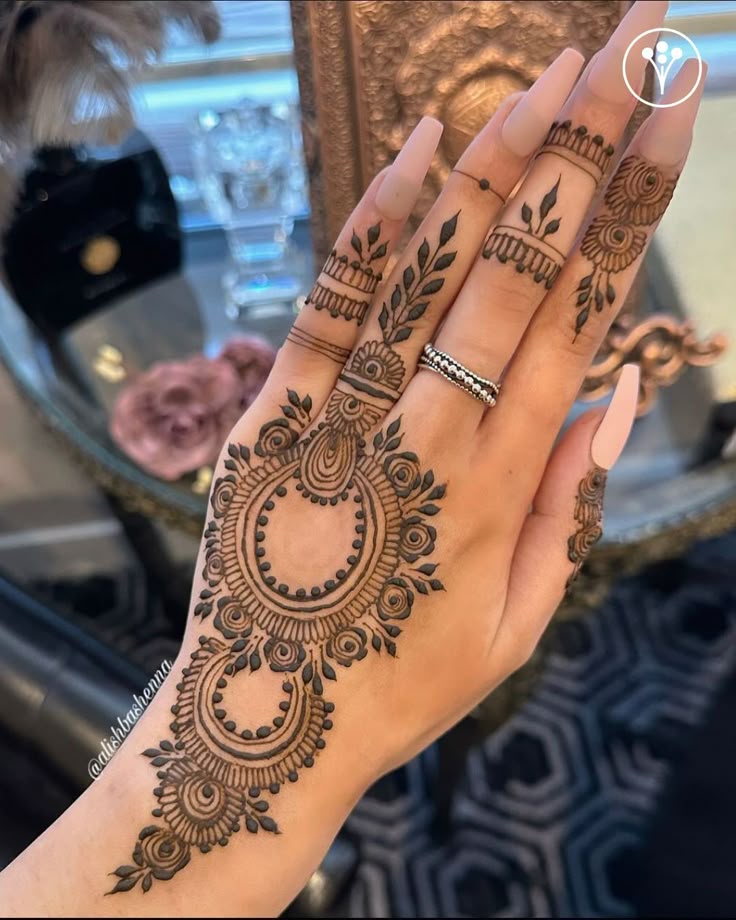
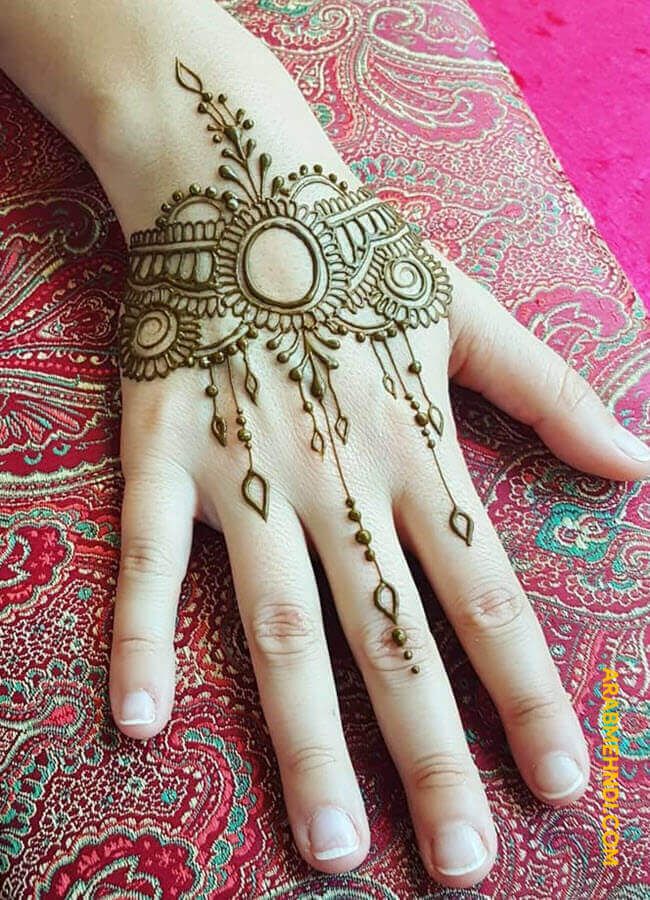
3. Jewelry-Inspired Design
Replicates rings, chains, and bangles on the back of the hand using delicate detailing.
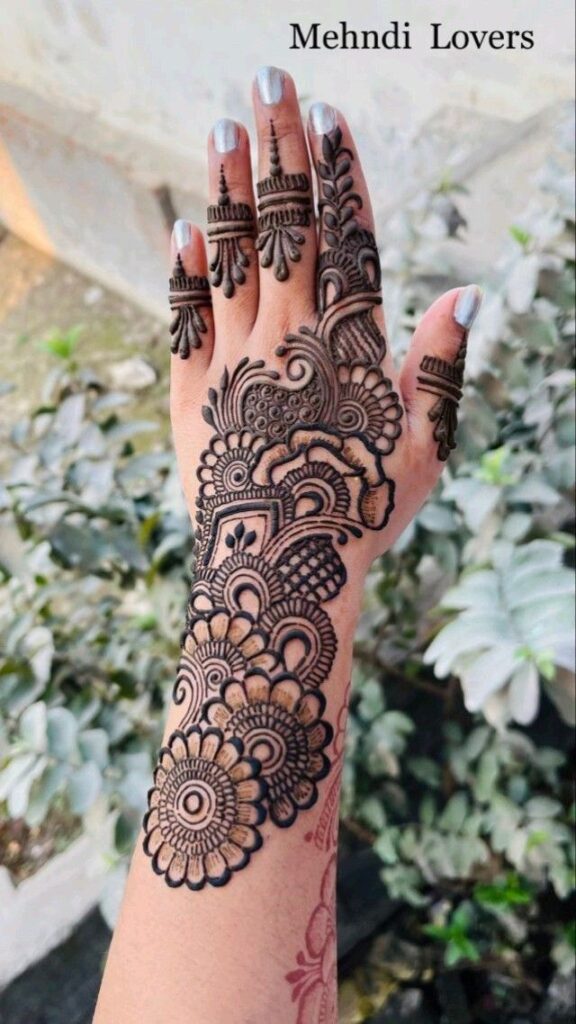
4. Bridal-Inspired Full Coverage
A dense design combining traditional paisleys, peacocks, and jaali work ideal for weddings and functions.

Tips to Make Your Mehndi Darker and Last Longer
Before Application
- Use fresh henna for the best color.
- Add a few drops of eucalyptus oil to the skin before applying mehndi.
After Application
- Let it dry for 2–3 hours minimum.
- Dab lemon-sugar mix every 30 minutes for deeper stain.
- Avoid water for at least 8 hours after removal.
- Cover with a plastic bag or wrap for overnight color setting.
Mistakes to Avoid During DIY Mehndi
Common Beginner Errors
- Rushing the application
- Using old or dry cones
- Not practicing before applying
- Ignoring hand prep (oily hands repel henna)
Inspiration for Your Next DIY Mehndi Session
Where to Find Designs
- Instagram pages featuring #BackHandMehndi
- Pinterest boards dedicated to bridal and festive mehndi
- YouTube tutorials on mehndi art for beginners
Practice Makes Perfect
Start with simple motifs and gradually work up to complex combinations. Try different themes each time floral, geometric, bridal, or even personalized initials.
Conclusion
Learning DIY back hand mehndi design isn’t just about saving money it’s about embracing creativity and culture in the most artistic way. Whether you’re preparing for Eid, Diwali, Karva Chauth, or simply indulging in some self-expression, back hand mehndi is the perfect canvas.
With practice and patience, your hands can become a masterpiece of traditional beauty. So grab your henna cone, pick a design, and let the artistry begin!
Read More:
- Step-by-Step Back Hand Mehndi Guide: Easy & Beautiful Designs for Every Occasion
- Modern Back Hand Mehndi Design: A Fresh Take on Traditional Elegance
- Stunning Back Hand Floral Mehndi Designs That Will Make You Shine in Every Celebration
- BACK HAND MEHNDI DESIGN FOR WEDDING: Trendy, Traditional & Timeless Ideas for Brides and Guests
- Front Mehndi Design Easy and Beautiful for Kids: Make Little Hands Bloom with Joy