
Discover how to create stunning front mehndi designs that are simple, easy, and beautifully elegant. Follow our step-by-step guide to achieve salon-worthy results at home.
Simple Front Mehndi Design Easy & Beautiful
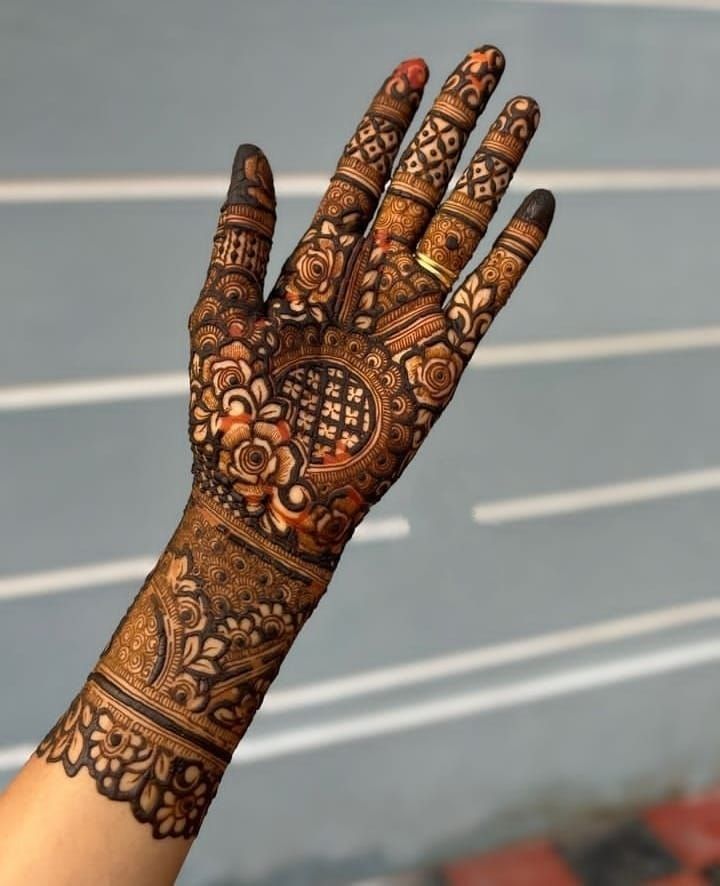
Front mehndi designs can brighten your look for any event without needing complex patterns or hours of work. In this article, you’ll learn easy steps to draw simple yet beautiful front-hand mehndi, discover essential tools, explore design variations, and pick up tips for making the color last longer. By the end, you’ll be able to create elegant mehndi art at home that looks professional and lasts for days.
Why Choose Simple Front Mehndi Designs?
Effortless Elegance
- Time-Saving: Quick to apply when you’re short on time.
- Beginner-Friendly: Gentle learning curve for first-timers.
- Versatile Appeal: Complements both traditional and modern outfits.
Versatility for Every Occasion
Whether it’s a festive celebration, a wedding, or a casual outing, simple front mehndi adapts beautifully. Minimal shapes and smart placement let you match any style or dress.
Essential Tools and Materials
- Mehndi Cone with Fine Tip – For precise lines and dots.
- Tissue or Cotton Swabs – To correct small mistakes.
- Lemon–Sugar Mixture – Seals the design and deepens color.
- Plastic Wrap or Medical Tape – Protects the design overnight.
- Disposable Gloves – Keeps other hands clean if you’re working on multiple people.
Step-by-Step Guide to a Simple Front Mehndi Design
Preparing Your Canvas
- Clean Your Hand: Wash off lotions or oils and pat dry.
- Trim Nails: Creates a neat overall look.
- Optional Sketch: Lightly draw your main motif with a white eyeliner pencil.
Drawing the Base Pattern
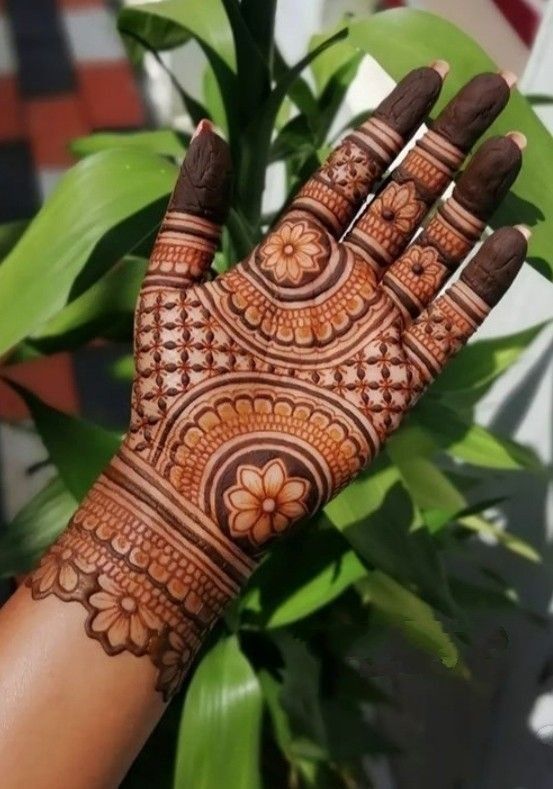
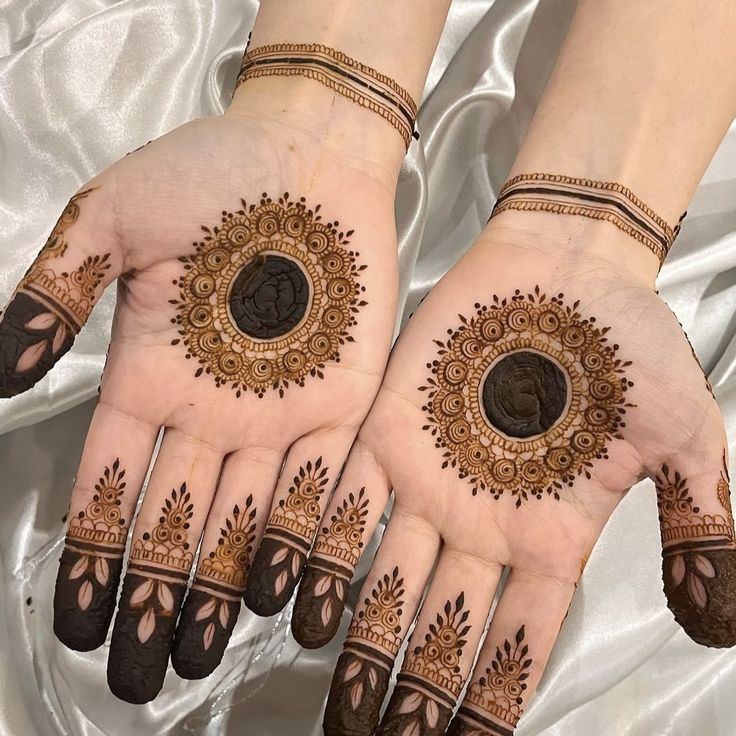
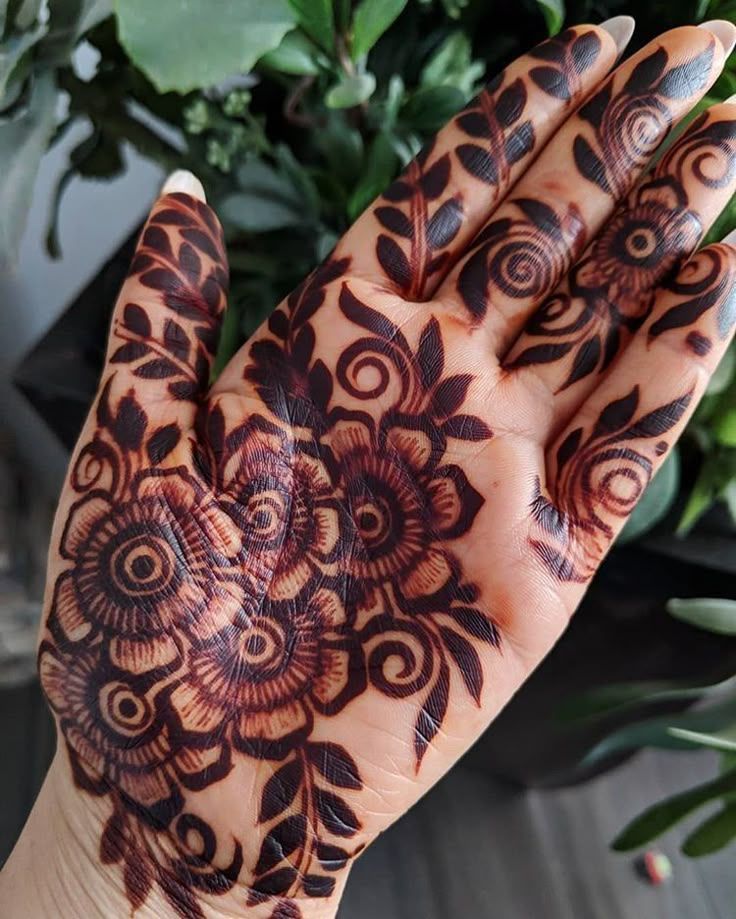
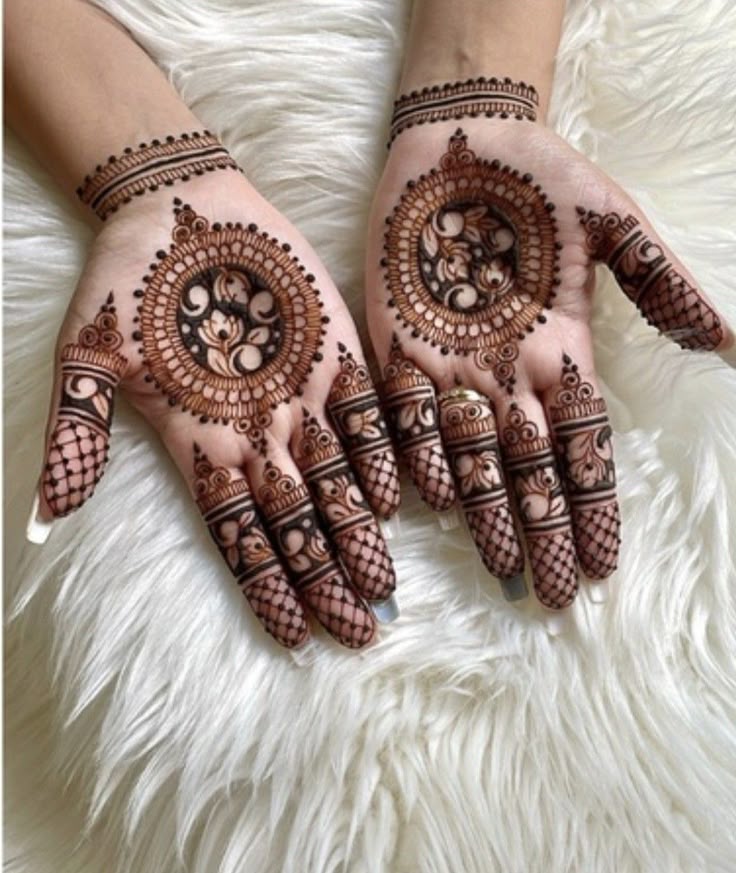
Center Motif
- Dot and Circle: Place a single dot in the palm’s center and draw a circle around it.
- Petal Shapes: Add four to six petals encircling the circle for a floral effect.
Accent Details
- Curving Lines: Extend fine, sweeping lines from each petal toward your fingers.
- Leaf Sprigs: Add small leaves along these lines to create a vine-like pattern.

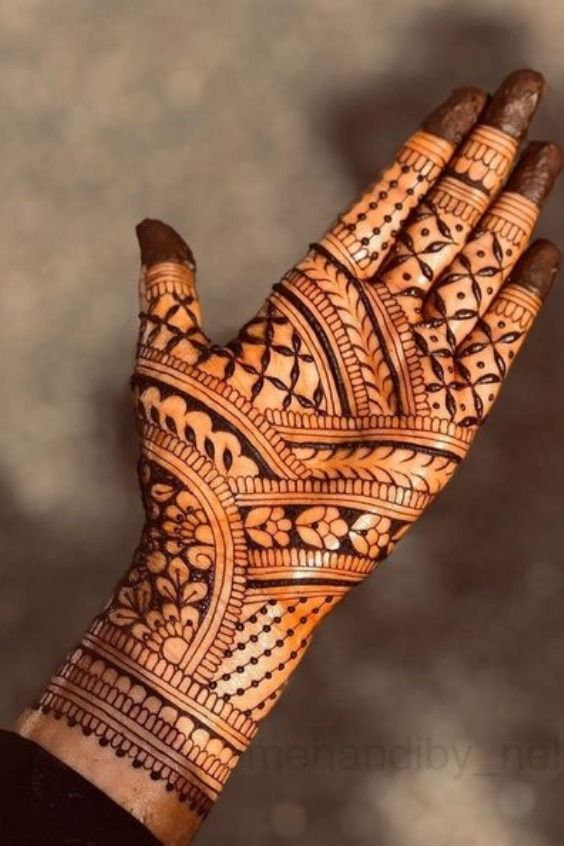
Decorating the Fingers
- Finger Bands: Draw two or three thin parallel lines around each finger.
- Mini Motifs: Within bands, include tiny hearts, dots, or zigzags for interest.
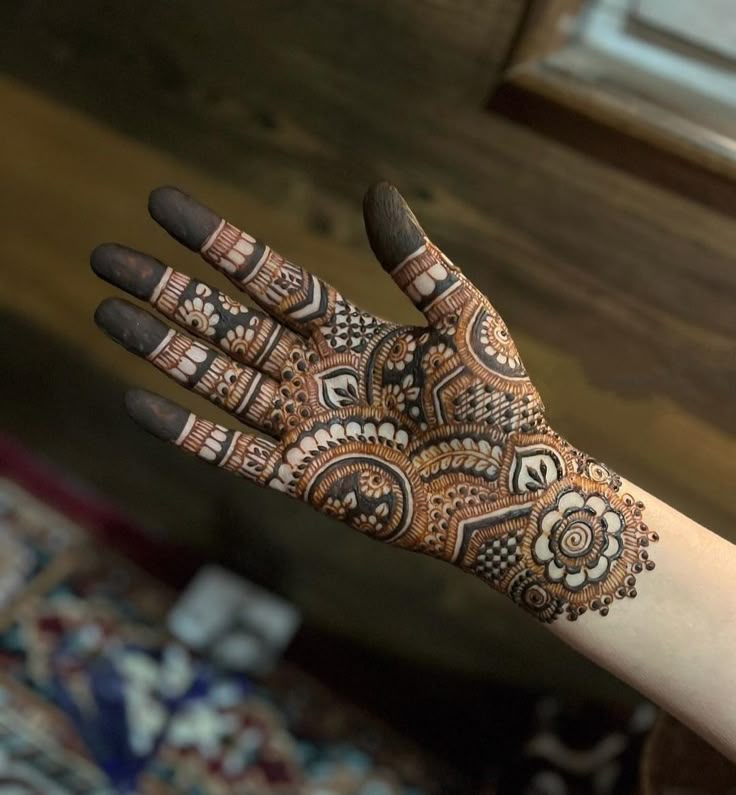
Finishing Touches Mehndi Design
- Fillers: Sprinkle small dots or spirals in empty spaces for balance.
- Bold Outlines: Thicken a few key lines to make the design pop.
- Wipe Off Smudges: Clean any wet spots immediately to avoid blurs.
Design Variations Using Related Keywords
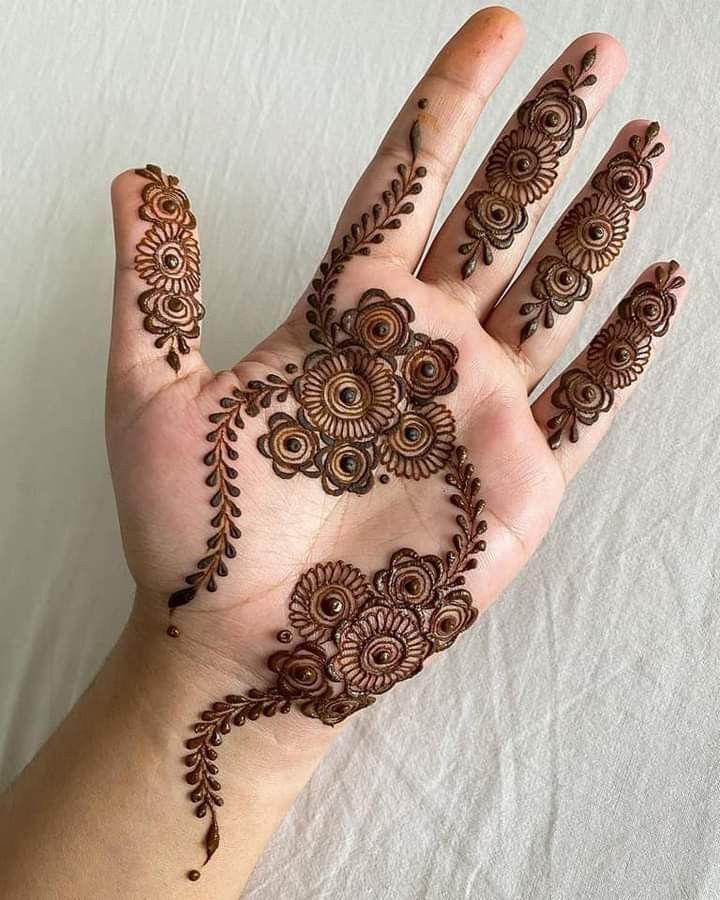
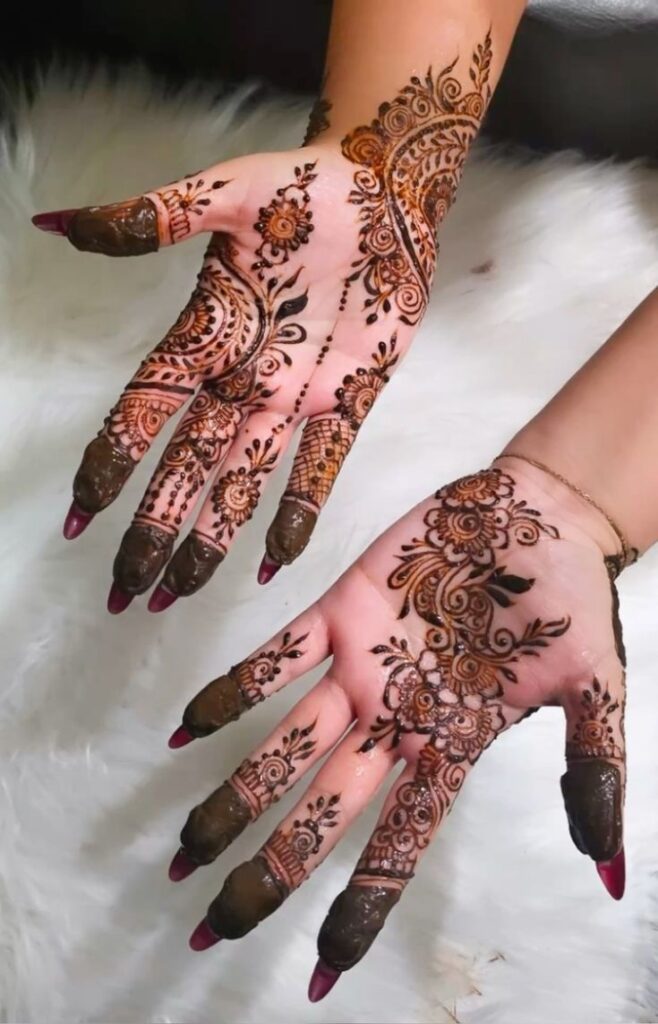
Floral Front Mehndi Design
Mix small flowers and leafy vines for a delicate, spring-like appearance.


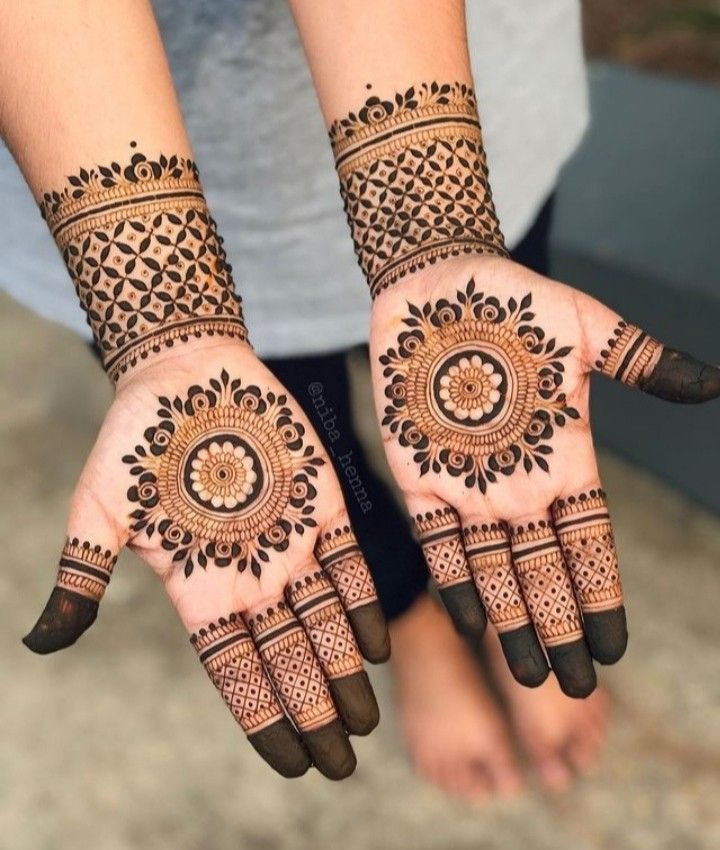
Geometric Front Mehndi Design
Use straight lines, triangles, and diamonds to form a sleek, modern pattern.
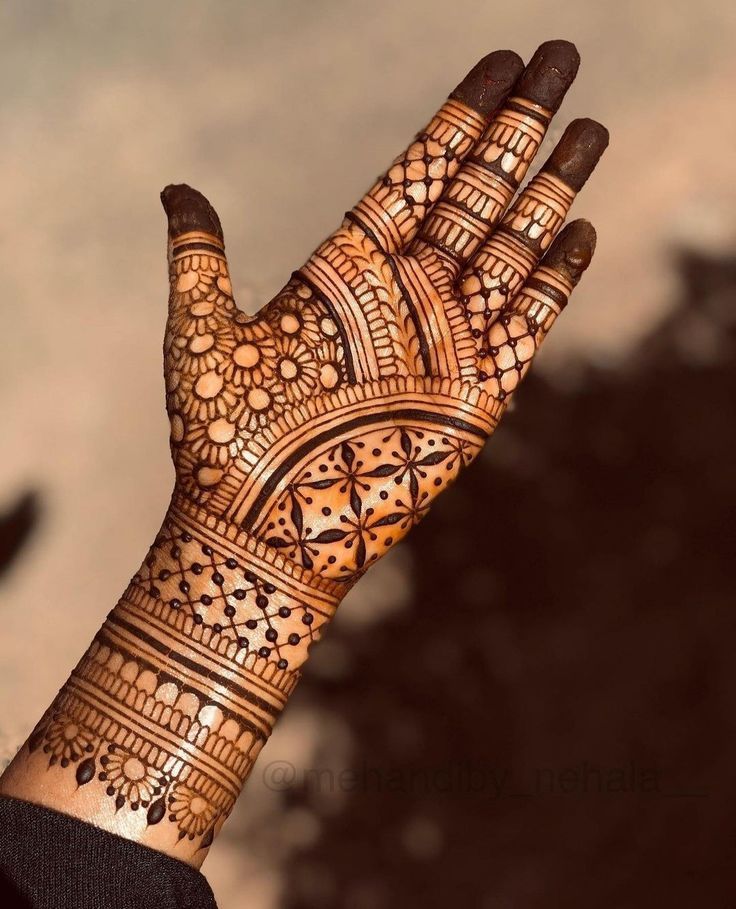
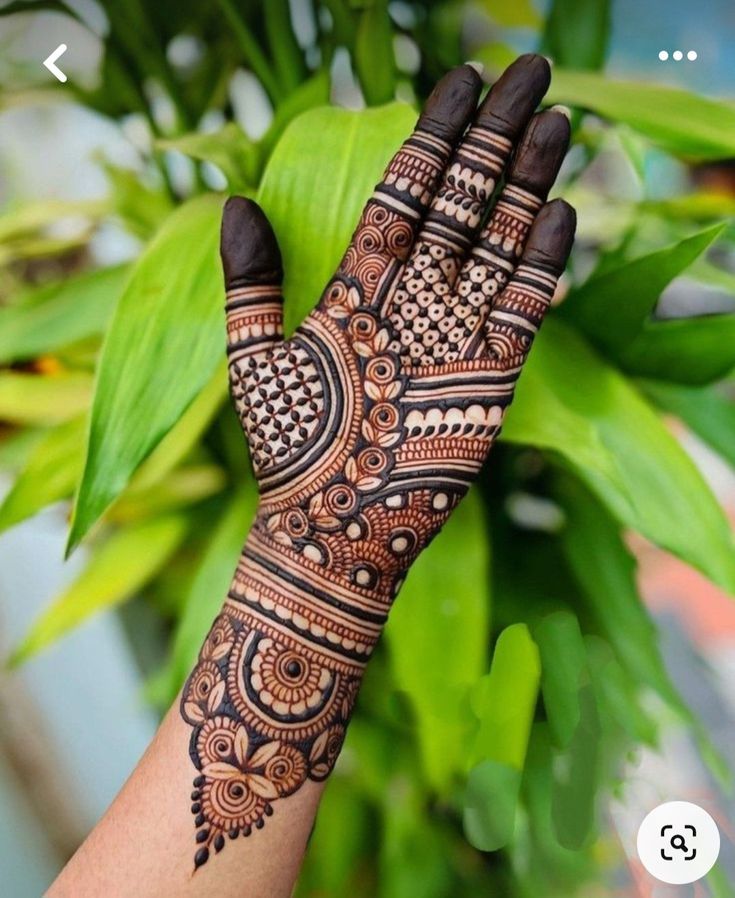
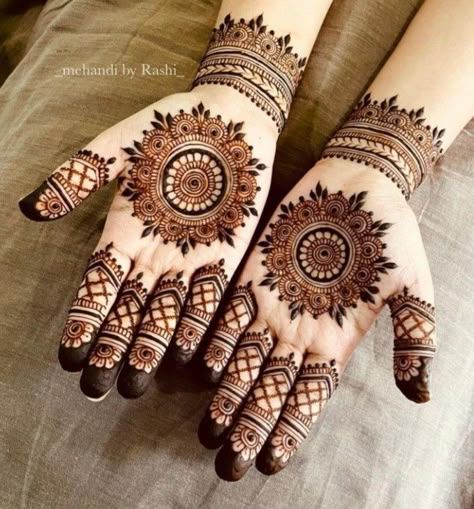
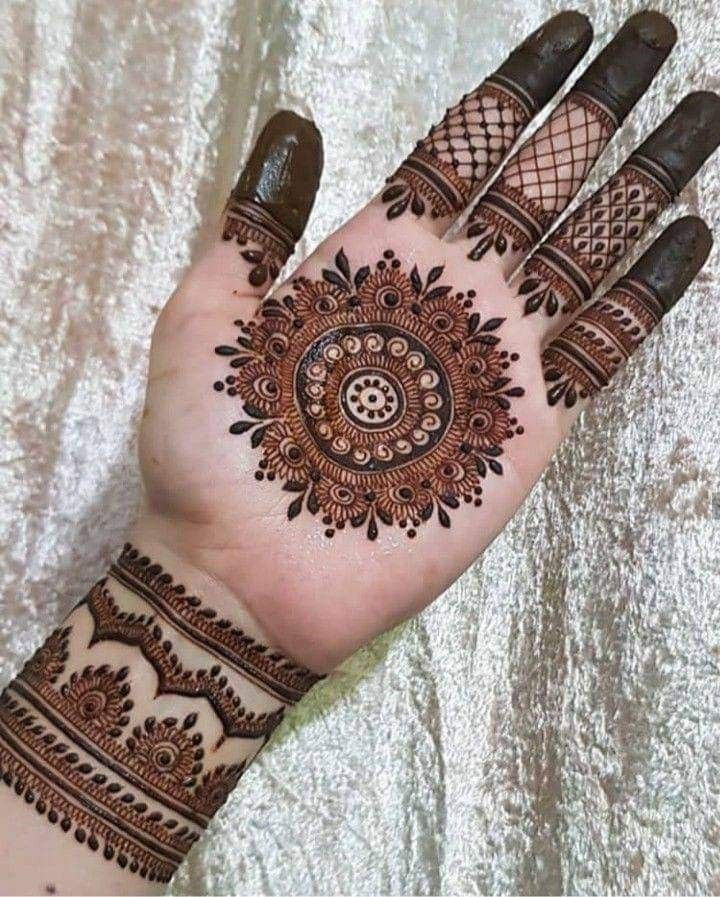
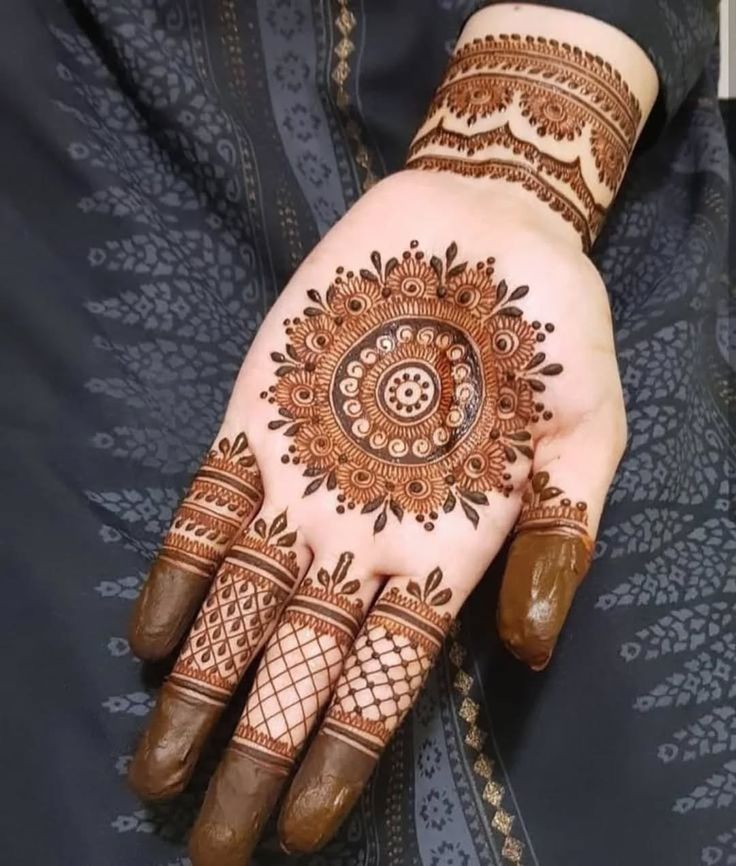
Minimalist Mandala Front Mehndi
Draw concentric circles and dot accents at your palm’s center for a simple mandala.
Styling Ideas for Different Occasions
- Casual Day Out: Finger-only bands with tiny hearts and dots.
- Office-Friendly Look: A single vine along the hand’s side.
- Festive Celebrations: Add extra florals and bolder outlines.
- Bride’s Accent: Apply the simple design on one hand for a minimalist bridal touch.
Tips to Enhance Color and Longevity
- Lemon–Sugar Seal: Gently dab the dried design with a lemon–sugar mix to deepen the stain.
- Overnight Setting: Wrap hands in plastic or tape to lock in moisture.
- Avoid Water: Keep your hands dry for at least 6–8 hours after application.
- Natural Oils: After scraping off dry mehndi, massage coconut or olive oil to intensify color.
Conclusion
With just a few basic tools and easy steps, you can master simple front mehndi designs that look stunning and professional. From floral vines to minimalist mandalas, these quick techniques suit any event and skill level. Follow our tips for application and aftercare, and enjoy beautiful, long-lasting mehndi without the fuss.
Read More: