Learn how to apply beautiful back hand mehndi with this easy step-by-step guide. Discover top tips, trending patterns, and pro techniques for stunning henna art at home.
Back hand mehndi is a timeless style loved by all generations
Whether for weddings, festivals like Karva Chauth and Eid, or just for fun, the elegance of back hand mehndi designs never fades. This guide will help you master step-by-step application with modern trends and traditional touches even if you’re a complete beginner.
Why back hand mehndi is a style statement
Modern art meets traditional charm
Back hand mehndi has transformed into a creative fashion statement. From elegant florals to geometric patterns, it reflects both personality and culture.
Popular trends that are ruling 2025
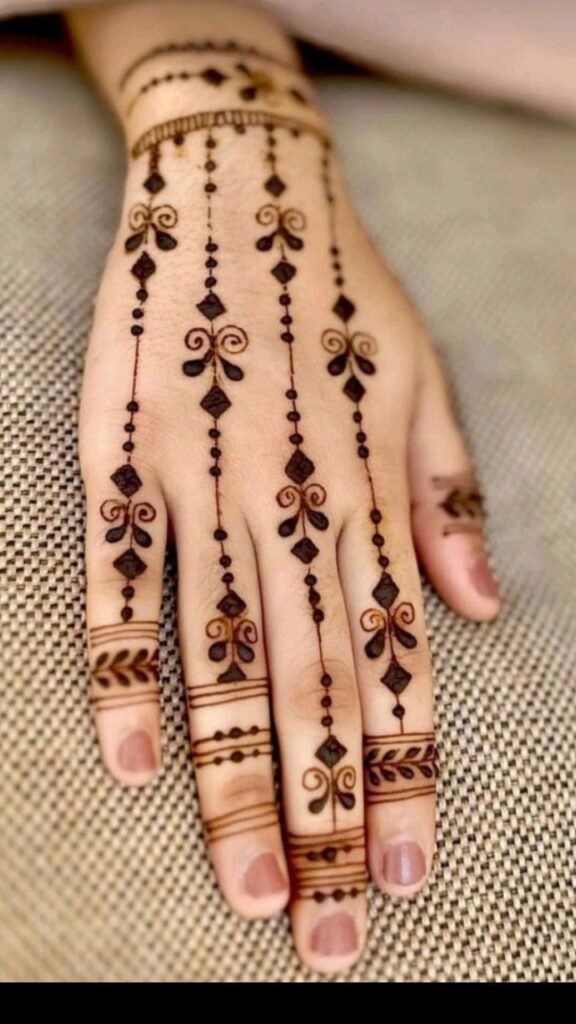
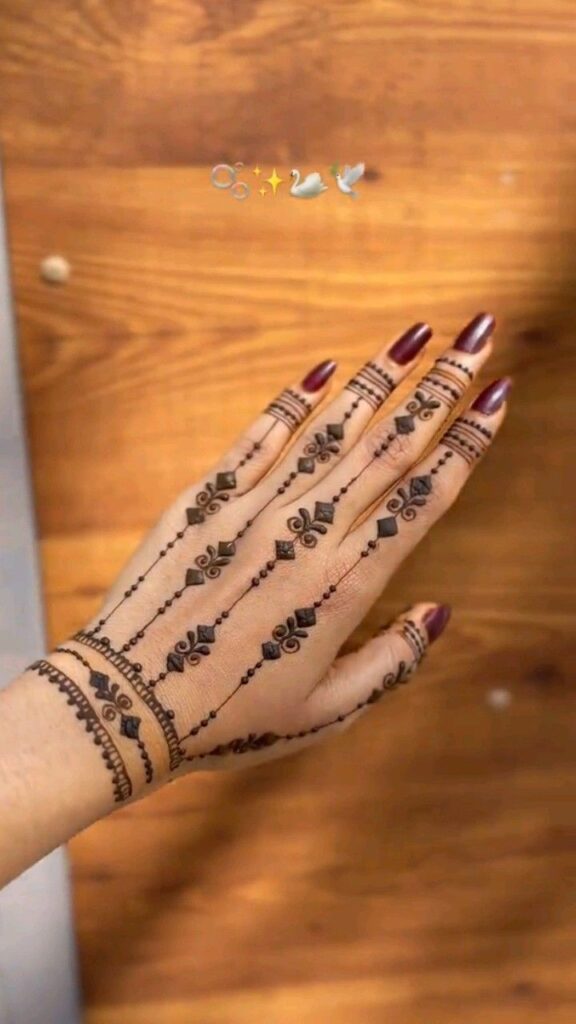
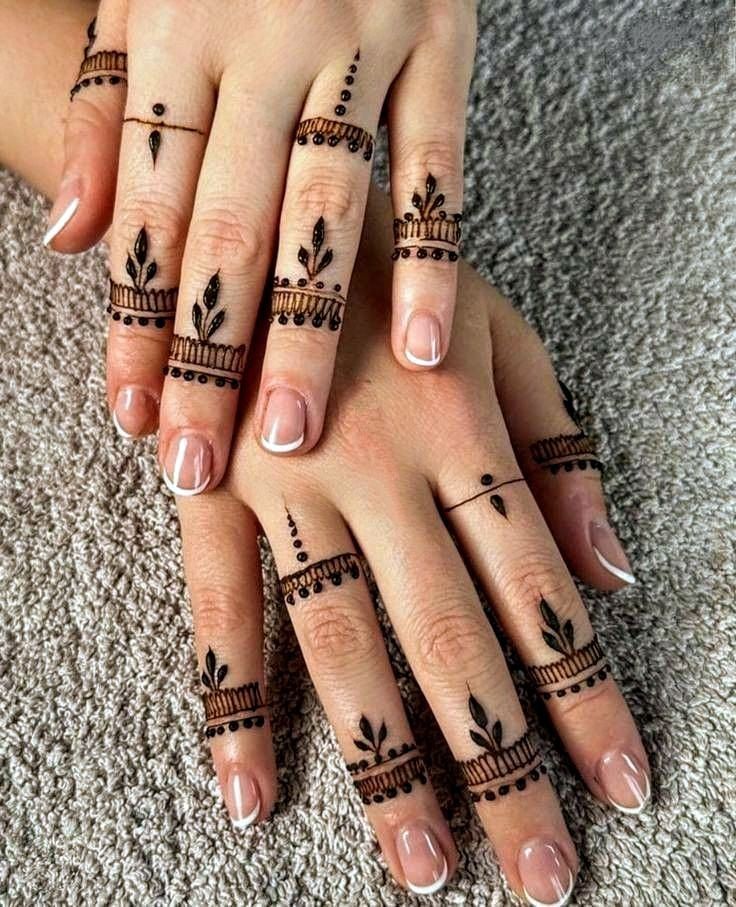
Minimalist finger lines with tiny dots
This style is perfect for those who prefer subtle elegance. Clean lines combined with delicate dots on each finger create a modern and sophisticated look, ideal for casual events and office wear.
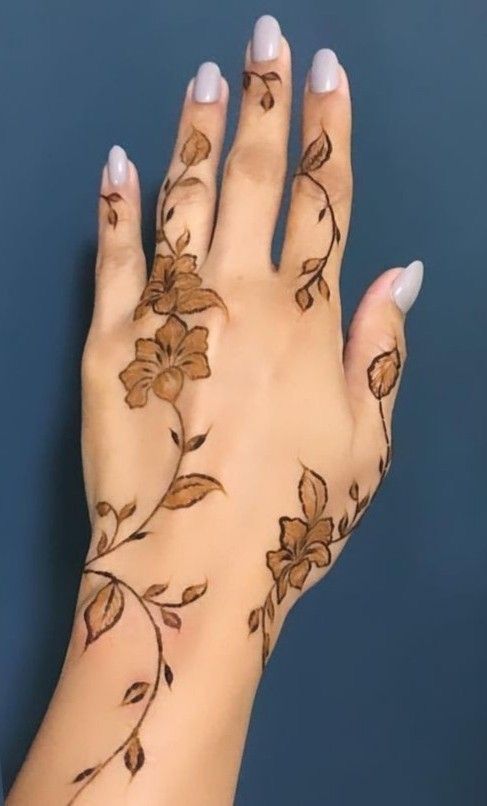
Arabic-style leafy trails across the hand
Arabic mehndi remains a timeless favorite. These patterns typically feature bold, flowing leaves and floral trails that start at the fingers and gracefully move down to the wrist, creating a bold and eye-catching design.
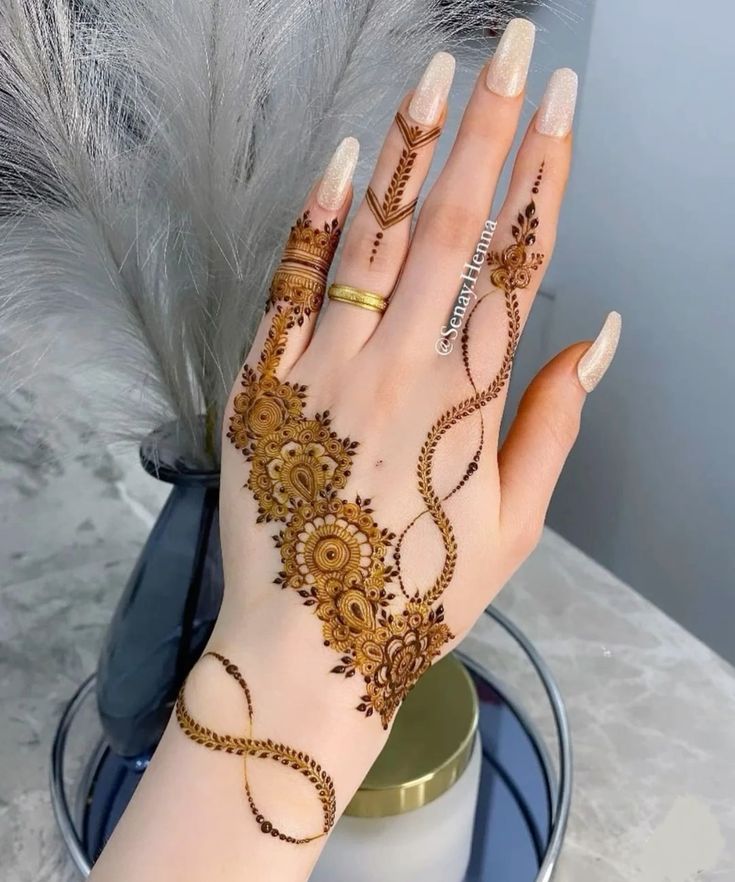
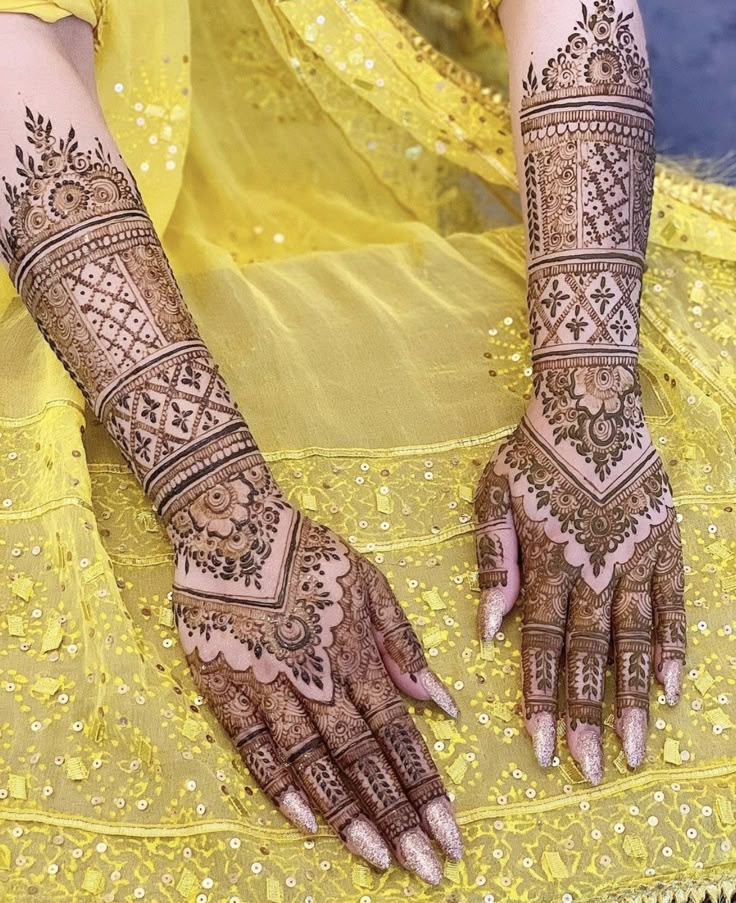
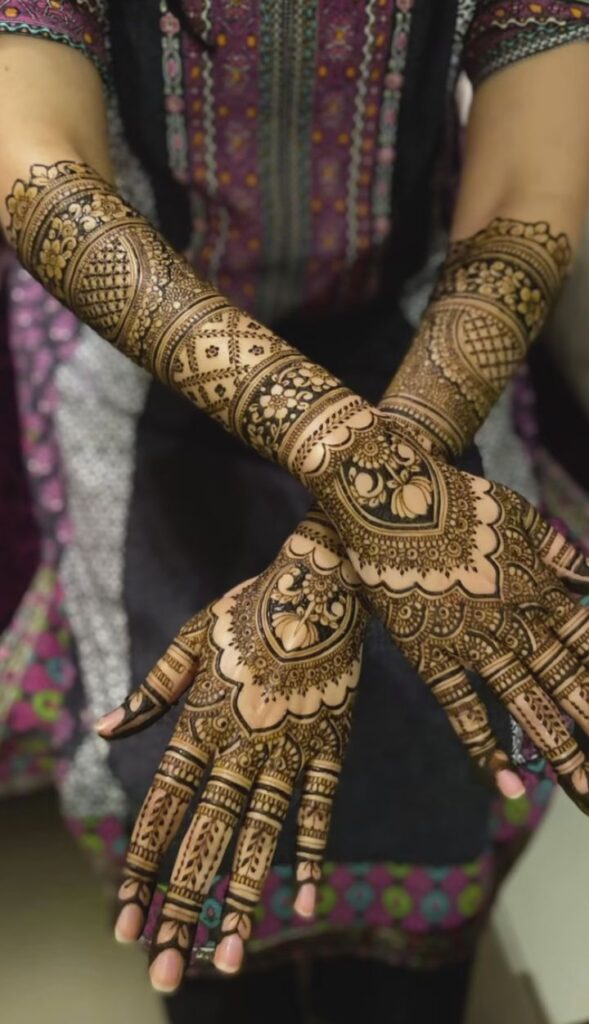
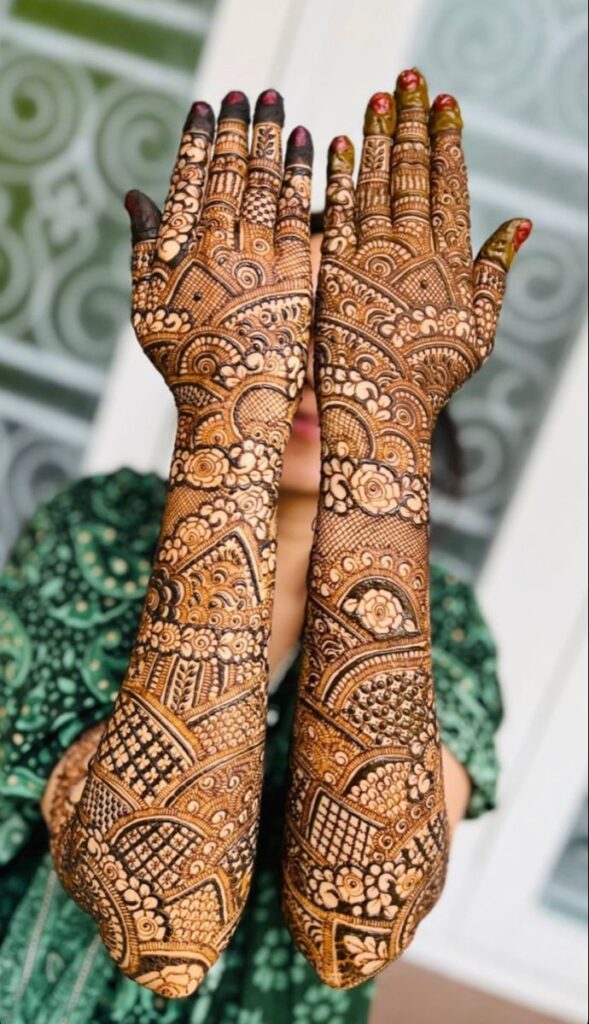
Intricate bridal mesh and lace effects
For weddings and grand occasions, nothing beats the beauty of net-like patterns combined with roses, paisleys, and lace details. This style covers most of the back hand and gives a luxurious, regal appearance.
Tools and materials you’ll need before starting
Build your basic mehndi kit
To get the perfect results, here’s what you’ll need:
- Natural henna cone (avoid chemicals)
- Cotton swabs or tissues
- Lemon and sugar mix (for color setting)
- Toothpick or fine brush (for corrections)
- Transparent sheet or notebook (for practice)
Step-by-step back hand mehndi application
Step 1 – Clean and prepare the skin
Wash your hands thoroughly and pat them dry. Wipe with rose water to ensure there’s no oil or lotion, which can block henna absorption.
Step 2 – Practice the design before applying
Sketch your design on a paper or transparent sheet if you’re trying something new. It helps with spacing, balance, and confidence.
Step 3 – Start from the fingertips
Always begin your design from the fingers and move downward. Create tiny floral trails, lines, rings, or leafy vines for a neat starting point.
Step 4 – Create the centerpiece on the back hand
This is the heart of your design. A bold mandala, floral bouquet, or peacock motif works beautifully in the center. Keep it symmetrical and detailed.
Step 5 – Extend the design to the wrist
Blend the design toward your wrist with curved lines, netted mesh, or leafy swirls. These finishing touches give your mehndi a complete look.
How to get darker and long-lasting mehndi color
Follow these aftercare steps for the best stain
- Leave the paste on for 6 to 8 hours or overnight
- Dab lemon-sugar mix once it starts drying
- Do not wash with water—scrape it off gently
- Warm your hands over clove steam for deeper color
- Avoid water for the next 12 hours after removal
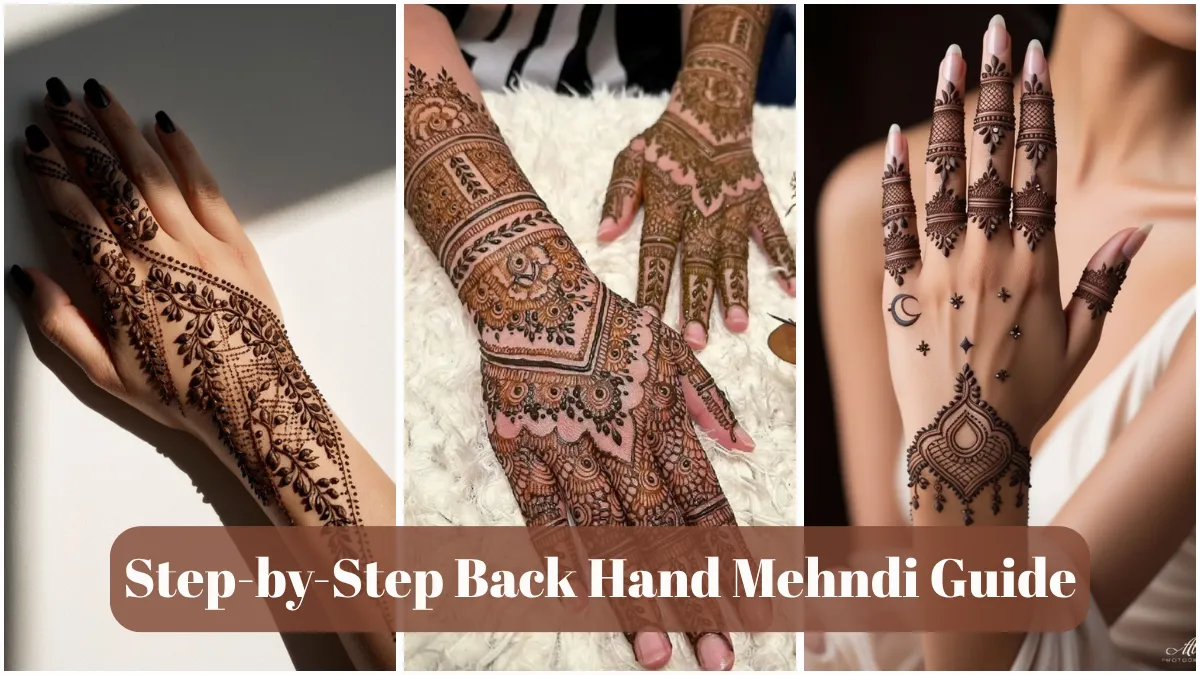
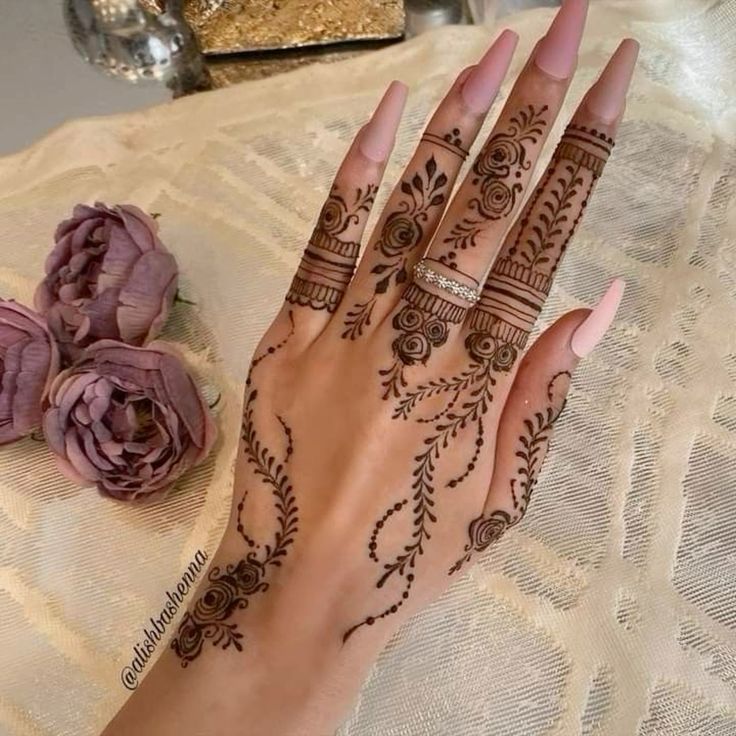
Trending back hand mehndi designs for 2025
Creative inspiration for your next event
- Diagonal floral trails from finger to wrist
- Jewelry-style bracelet mehndi
- Crisscross mesh for a bridal touch
- Classic paisleys and mandalas with modern curves
Common mistakes to avoid during mehndi application
Don’t let small errors spoil your art
- Always have a plan or rough outline
- Never use watery or expired henna cones
- Keep your hand still until it’s fully dry
- Patch test to avoid allergic reactions
Conclusion
Back hand mehndi isn’t just a design it’s an expression of beauty, celebration, and tradition. With these step-by-step tips, even beginners can create stunning henna patterns with ease. So, grab your cone and let your hands do the talking leaf by leaf, line by line.
Read More:
- Modern Back Hand Mehndi Design: A Fresh Take on Traditional Elegance
- Stunning Back Hand Floral Mehndi Designs That Will Make You Shine in Every Celebration
- BACK HAND MEHNDI DESIGN FOR WEDDING: Trendy, Traditional & Timeless Ideas for Brides and Guests
- Front Mehndi Design Easy and Beautiful for Kids: Make Little Hands Bloom with Joy
- Front Mehndi Design Easy and Beautiful Back Hand: The Perfect Blend of Tradition and Style